3 Ways to Finish Your Quilt

One of the last steps in making a quilt is the finish, typically applied to conceal the raw edges of your quilt sandwich. This can be done by binding it or facing it. In either method, you can use the same fabric you quilted with or you can use complementary or contrasting colors and fabrics.
Ready to finish? Well, square up your corners, and let’s get started!
1. French Fold Binding
Also known as double fold binding, this technique is the tried and true way to bind your quilt. You begin by taking fabric strips, typically at least 2.5” wide, and fold and press them lengthwise before sewing them around the quilt’s edge.
When sewing multiple strips together, which you will to achieve the length needed to bind an entire quilt, you sew them at a diagonal to remove excess bulk from your binding.
You will sew this binding to the front of your quilt (with all the raw edges facing the same direction) using a ¼” seam allowance all the way around. At each corner, you make a mitered corner, which is when you flip, tuck, and fold the fabric strip to achieve a clean and connected corner.
Once attached, you then roll the folded seam to the backside of the quilt, securing with clips as you go, and sew the binding to the back.
If you hand-sew this part, it’s the perfect time to binge a show or listen to music and relax into the process. If you machine sew this part, then you can choose a straight or decorative stitch, which will add a flourish to your binding. With the machine sewing method, you will likely see your stitches on both sides. If you hand-sew your stitches will virtually disappear into the binding using a slip stitch.
2. Facing a Quilt

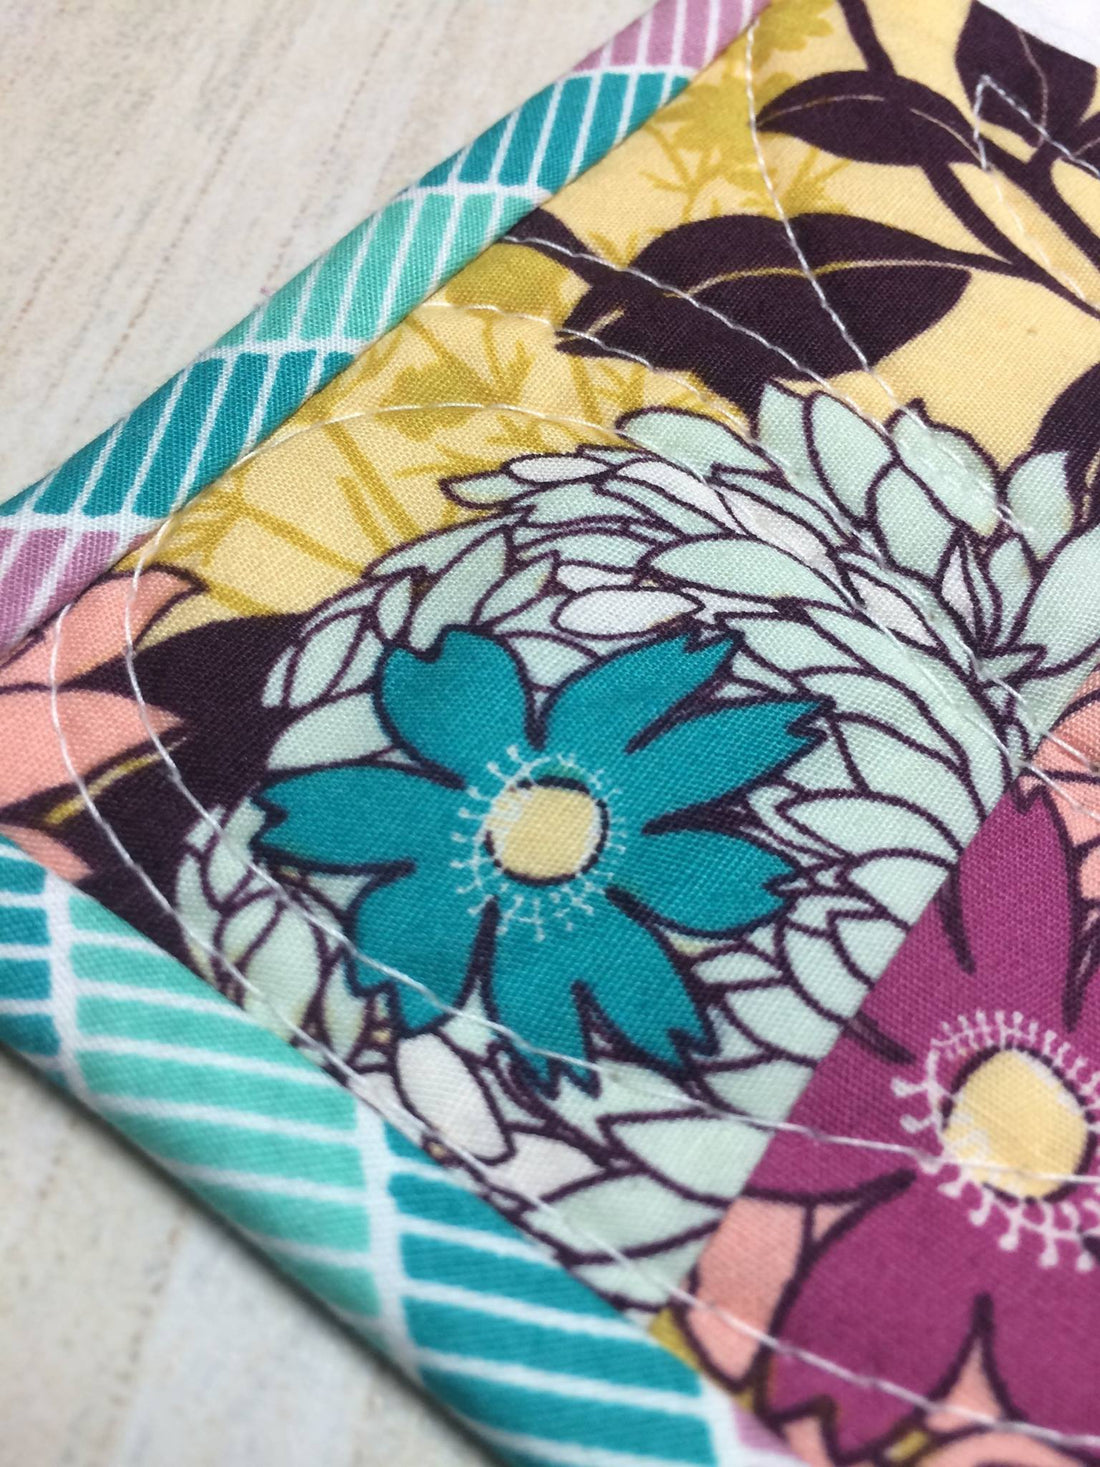
Sunkissed by Theresa Olson of Port Saint Lucie, FL
With this method, you essentially remove the outer “frame” of your quilt that a binding creates. It gives a modern and fresh finish because the front (or face) of your quilt is unfettered.
It’s similar to binding in preparation, but differs in the final application. You will prepare strips of fabric, typically 2.5” wide and press them lengthwise. However, the method here is to attach four strips of fabric to the edges (not one long strip) and without the mitered corners.
Instead, you will sew on four fabric corners. The added corners provide a quick and built in method for hanging smaller quilts as wall hangings, thus eliminating adding a sleeve or tab.
Additionally, you will not roll it over the quilt edge to the back, but rather press it flat first and then fold it back at the edge itself so it appears to not have a visible border. Kind of like how an infinity pool looks.
You will still hand sew the strips to the back, but it’s four smaller strips to sew and you won’t be fussing with the corners. Or you can use fabric glue for smaller quilts if you’d like.
3. Prairie Point Binding
One fun way to add some extra pizzazz to your quilt (and make it a real whizz bang version!) is to add prairie points to the edge. These points are sewn to the top and batting only, and then the back is sewn to a finish. Follow this link for the full tutorial by Rachaeldaisy.

Bonus: Fabric Strip Tips
Typically in binding or facing the use of 2.5” wide strips will do. However, you may want a larger look to your binding and start with 3” wide strips. Or go in the other direction with a smaller binding and start with a 2” wide strip. In either case, the seam allowance may change so keep an eye on it. At the end of the quilt, these are guidelines because it’s your quilt and your rules. Do what pleases you! Here is a quick guide we found for calculations for the binding, backing, and borders.
Pro Tip: Judges Choice
If you’re entering a show, there are a couple of things judges look for in the finishing and edges of your quilt. Here’s a quick list:
- Is the binding filled to the quilt edge?
- Is it evenly filled and not bulky or flat in parts?
- Are the corners at a 90-degree angle?
- Are the corners stitched shut?
- Does the thread match the binding?
- Does the finish enhance or detract from the overall quilt design?
How will you finish your quilt?
We’d like to know which method you prefer or if you have any other tips to add in the comments.
3 comments
Thank you! So easy to follow.
Thanks for the encouragement!!! Have a great day!!
As long as I have been quilting you have taught me some new things and confirmed what I have taught myself as doing the right thing.
The “Craftsy” info was hard to see as their advertising was in the way.. But that is that.
Thank you very much for the all the info.