Stitch-Alongs
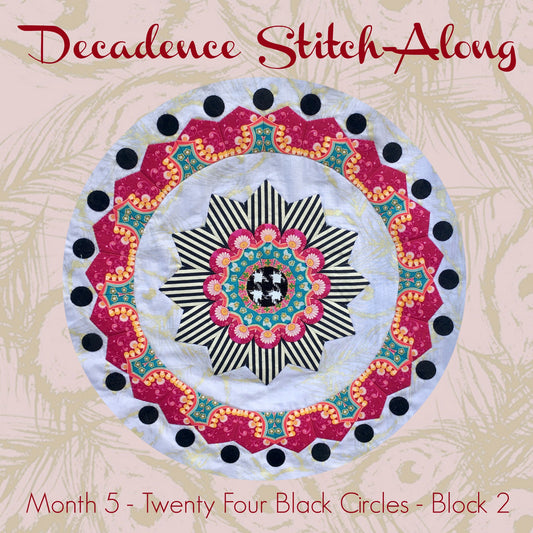
Decadence Stitch-Along - Month 5 - Twenty Four ...
It's July, hot humid Summer for many of us. Sitting by the pool with your EPP or sitting in air conditioning with your EPP, either way sounds good to me....
Decadence Stitch-Along - Month 5 - Twenty Four ...
It's July, hot humid Summer for many of us. Sitting by the pool with your EPP or sitting in air conditioning with your EPP, either way sounds good to me....

Decadence Stitch-Along - Month 11 - Floral Fusi...
The conclusion of our Decadence Stitch Along is just a couple months away. Although many of you have not been posting your progress, there must be somebody who is...
Decadence Stitch-Along - Month 11 - Floral Fusi...
The conclusion of our Decadence Stitch Along is just a couple months away. Although many of you have not been posting your progress, there must be somebody who is...

Decadence Stitch-Along - Month 10 - Houndstooth...
As we adventure into the Christmas season, how many of you are baking cookies, shopping, decorating the tree, wrapping gifts, and of course, still working on some of your...
Decadence Stitch-Along - Month 10 - Houndstooth...
As we adventure into the Christmas season, how many of you are baking cookies, shopping, decorating the tree, wrapping gifts, and of course, still working on some of your...
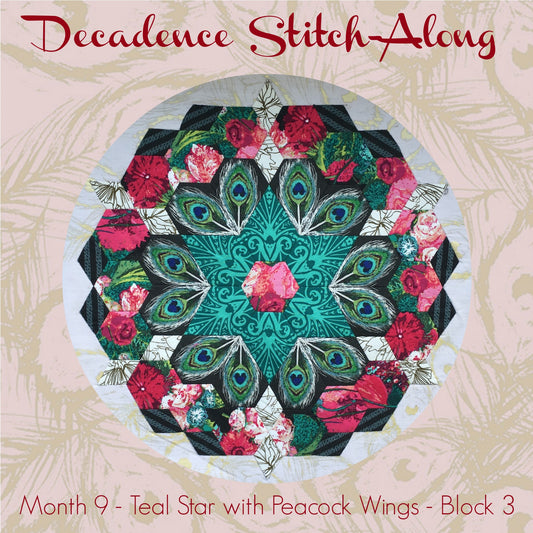
Decadence Stitch-Along - Month 9 - Teal Star wi...
Welcome back as we dive into our November block. As the Thanksgiving holiday approaches, I am reminded of the many things I am thankful for. One in particular is that...
Decadence Stitch-Along - Month 9 - Teal Star wi...
Welcome back as we dive into our November block. As the Thanksgiving holiday approaches, I am reminded of the many things I am thankful for. One in particular is that...
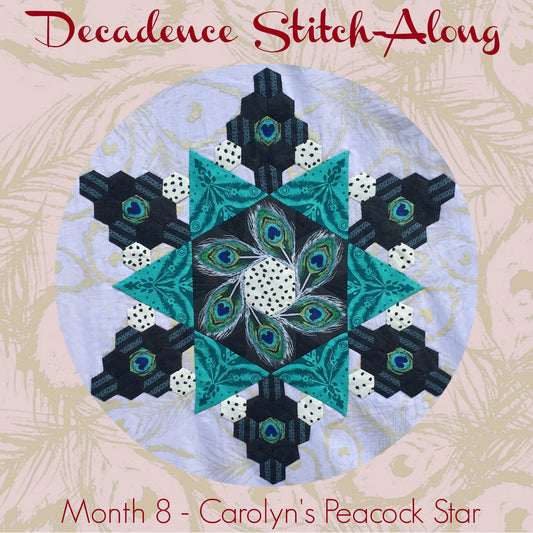
Decadence Stitch-Along - Month 8 - Carolyn's Pe...
It's beginning to look a lot like Christmas, so how about a Snowflake, or shall I say my Peacock Star! This month's block is my design, AND we will be...
Decadence Stitch-Along - Month 8 - Carolyn's Pe...
It's beginning to look a lot like Christmas, so how about a Snowflake, or shall I say my Peacock Star! This month's block is my design, AND we will be...
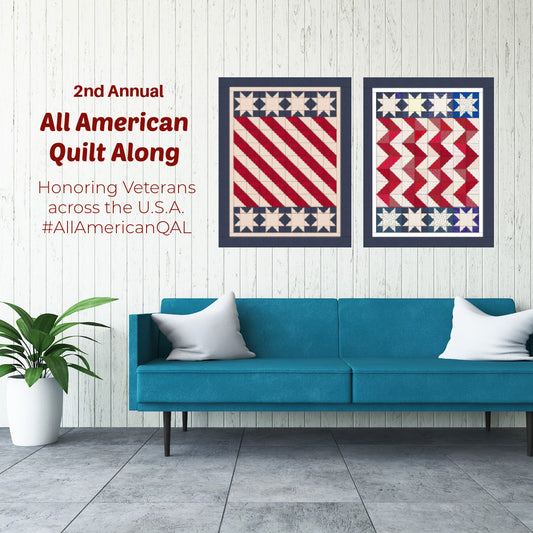
All American Quilt-Along
The 2nd Annual All American Quilt Along Honoring Veterans Across the U.S.A. Hosted by Red Thread Studio - Stripes/Waves of Liberty quilt pattern by Lisa Sutherland - Guest quilters Andrew...
All American Quilt-Along
The 2nd Annual All American Quilt Along Honoring Veterans Across the U.S.A. Hosted by Red Thread Studio - Stripes/Waves of Liberty quilt pattern by Lisa Sutherland - Guest quilters Andrew...