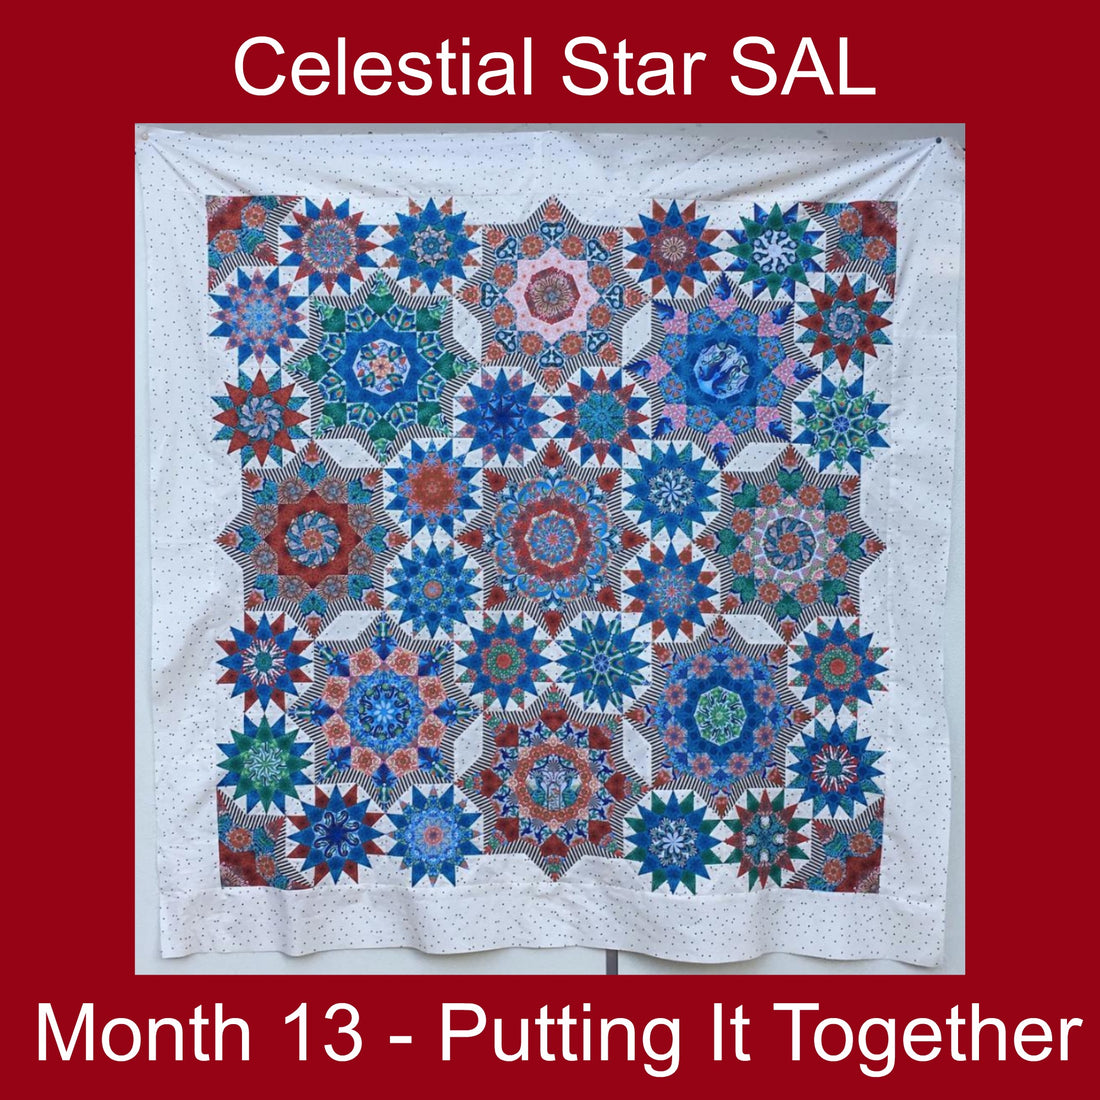
Celestial Star SAL - Month 13 - Putting It Together

EDITOR'S NOTE: Due to technical difficulties on my end, Carolyn's Celestial Star Finale post did not make it up on the blog on January 1st. I then made the decision to hold the post until February 1st to give you more time to work on your Color Bursts and Starbursts.
In the meantime, post a photo of your finished quilt top between 12:01am 1 February 2019 – 11:59pm 28 February 2019 in your time zone on Instagram or Facebook using the hashtag #CelestialStarSAL for a chance to win a $100 Red Thread Studio gift certificate. (Your quilt top can be quilted, but it’s not a requirement for prize eligibility.)
Now back to your regular programming :)
-------------------------------------------------------------------------------
Happy New Year to each of you and your loved ones. May this year bring you much happiness, good health and many blessings. I hope you find time to stitch every day. Stitching is about more than the project. It is an enjoyable, fulfilling and calming task. I recently had to go a number of days without stitching, and I found myself feeling a bit melancholy; so, I picked up my needle and thread for just a short time and my heart felt free again. So stitch away gals and make your world a happier place.
This is it, our final month for the Celestial Star SAL. How many of you have kept up each month with stitching your Color Bursts and Starbursts? It was definitely time-consuming. When Jen first showed me this pattern, my first thought was that it was a daunting task. But, focusing on one piece of this puzzle each month made it easier to follow. I hope you are pleased with your quilt in its completion.

We have a few more directions to follow in piecing together the entire quilt. You may want to follow my layout of the Color Bursts or change it up to your own liking. When I laid mine out, I had a friend help by moving the pieces around as I looked at it from a short distance to get a feel for the entire finish. When I was pleased with the layout, I took a picture to look at it from a different view point. Then I numbered the Color Bursts by writing on the back of the papers. Using compass directions, I labeled them North, Northeast, East, Southeast, South, Southwest, West and Northwest. I also numbered the Starbursts clockwise 1, 2, 3, 4, 5, etc.

It helps to remove papers from the inside of each Color Burst to avoid bulk. But be sure to leave the papers in all the edges.
The illustration in your book will show where each Color Burst, Starburst and filler pieces will go together. You will find that there are a few tricky intersections where three unequal sections meet. Your seams should all fall in the same direction to reduce bulk. You want to make sure that each individual piece of this puzzle comes to a sharp point; without sharp points, your intersections will be a bit wonky. I had to rip, adjust, and stitch again until I got the hang of it.
First is the intersection where two Starbursts and one Color Burst meet.

Next is the intersection where two Color Bursts and one Starburst meet.

Next is the fill-in piece between two Starbursts with the border attached.

Finally a corner unit and two Starbursts with the border attached.

Now, take out the remaining papers, give it a good pressing and off to the quilter. Jen's long arm quilter chose to keep the quilting simple within each Color Burst and each Starburst. And the borders were quilted with straight lines perpendicular to the edges. I then chose the black and white stripe used in the wings for the binding. Because the stripe was printed on the diagonal, your binding strips are cut straight across the width of the fabric. Now, after a year, you have the plans for an awesome quilt.

What made this quilt so beautiful and intriguing was the choice of fabric. Jason Yenter's (In The Beginning) Treasures of Nature fabric line had so many wonderful fussy cutting options. I am sure there are many, many more different fussy cutting combinations to explore in these fabrics. Always remember that the choice of fabric is the key to success when fussy cutting.
I want to thank you for joining me in this year long journey. I will continue to watch for posts of your finished quilts (use #CelestialStarSAL on Facebook or Instagram). And I hope you will follow my quilting adventure in 2019 with the Decadence SAL. For more information, click HERE. Look for my completed Decadence quilt within the next two months. Happy Stitching!